

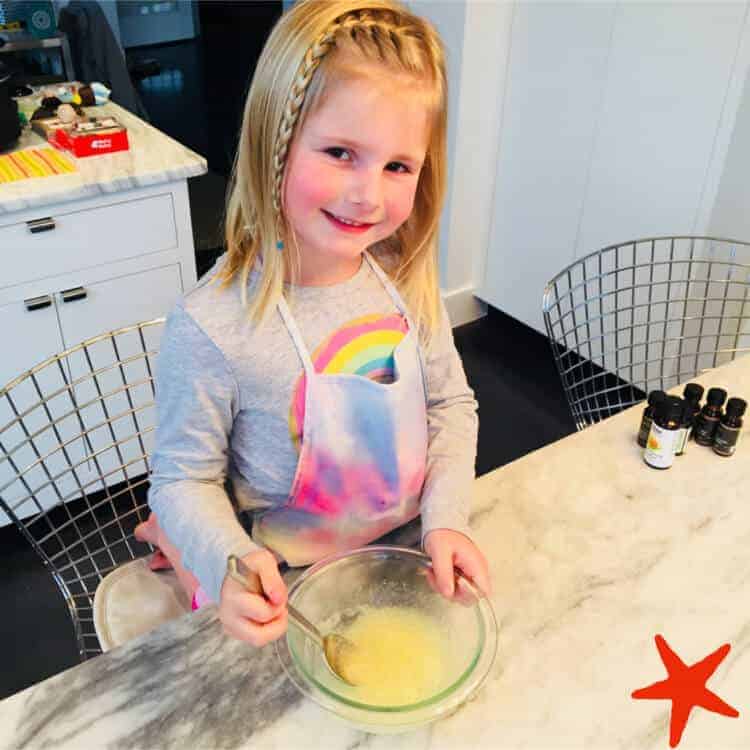
Here are two DIY Exfoliant Recipes we've tried from sustainable bloggersGoing Zero Waste &Don't Waste the Crumbs . One has a sugar base and the other a salt base, so you can decide which best meets your needs. The salt scrub is a more of a heavy duty exfoliant, while the sugar can made to suit more sensitive skins. Although my sister Ali used both of these as a body scrub as her face skin is very sensitive. The salt is the easier of the two DIY Exfoliant Recipes if you are looking for a place to start! Both of these can be stored in an empty glass jar you probably already have laying around.
For more details and other DIY ideas, I encourage you to check out their pages or check out some of our otherDIY posts .

DIY Exfoliant Recipes #1: Sugar Scrub Recipe from Going Zero Waste
Supplies:- 1 Cup of Sugar
- 1/3 Cup of Sweet Almond Oil (or Olive Oil both high in vitamin E)
- 2 Tablespoons of Raw Unrefined Honey
- The Zest of 1 Lemon
- The Juice of Half the Lemon
- 2 Tablespoons of An Optional Add-In*
- Dried Rosemary: Grind it very fine. Rosemary improves circulation and kills bacteria.
- Dried Green Tea: A fabulous anti-inflammatory that helps reduce redness.
- Crushed Rose Petals: Contains high amounts of vitamin C and smells amazing.
Mix all of the ingredients in a small jar. Make sure you zest the lemon before you juice it. It only takes a couple of minutes to whip up! Keep the mixture in the fridge.
To use: Splash your face with warm water. Take a tablespoon of your scrub and gently massage in circles. The warm water on your face will start to dissolve the sugar so it will lose part of its abrasiveness. After about a minute, rinse your face thoroughly. Make sure to use a toner to balance your pH.Why these ingredients?
Sugar is the exfoliant. It also helps your skin retain moisture. You're going to want a very fine grain like classic white sugar or brown sugar. Brown sugar is best for those with sensitive skin because it's the softest.Raw Unrefined Raw Honey really helps to balance this scrub. It's not only a powerful anti-bacterial like green tea, it's also a moisturizer and helps neutralize your pH which is very important when we get to the more acidic ingredients.
Lemon Zest doesn't do anything except make the scrub smell/taste amazing.
Lemon Juice is pretty acidic, but is high in vitamin C. It's used as an astringent in this scrub. It will help lighten scars and even your complexion. It will also help tighten skin and brighten.
Sweet Almond Oil is high in vitamin E which is very soothing. It's also antibacterial and the best oil for dry skin. It provides great moisture and won't clog your pores. There's also enough acid from the lemon to cut the oil so your skin doesn't remain oily after you wash the scrub away.
DIY Exfoliant Recipes #2 DETOXIFYING SALT SCRUB from Don't Waste the Crumbs
Supplies - jar (re-purposed with the label removed is the most frugal option)
- 1/2 cup Redmond Bath Salt (side note - we used Epsom salt when we tried this and it worked great)
- 1/4 – 1/3 cup nourishing oil (olive oil is most commonly used and most affordable, but you can use almond oil, jojoba oil or vitamin E oil if you’re sensitive to olive oil)
- 4-5 drops essential oils, as desired (where to buy)
Add 2 tablespoons of oil and stir well. You want the mixture to be saturated and smooth, but not goopy. Add additional oil as needed, but you likely won’t need all of it.
Add essential oils as desired, if using.
Store in a jar with a tight-fitting lid. As a scrub, use approximately 1 tablespoon once a week. As a bath soak, use as often as desired. This recipe fills a 4 oz glass jar.
Making a salt scrub with high quality salt is a great start, but addingessential oils beefs up the benefits. Here are a few essential oil combinations to try out, depending on your skin type:
- Normal: lavender, almond, orange, tea tree
- Dry: cedarwood, geranium, sandalwood, palmarosa, chamomile
- Oily: lemon, lime, bergamot, geranium, cypress
- Acne-Prone: tea tree, geranium, lavender, patchouli
- Combination: lavender, bergamot, orange, patchouli
Why make a salt scrub?
I’ve beenusing a washcloth to exfoliate my face for several months now, but when you’re coming home with grime glued to your skin, something a bit more heavy duty is in order. Salt scrubs are the perfect fit for heavy duty dirty jobs because salt doesn’t dissolve as easily in warm water as sugar, and it’s a bit more abrasive. Sea salt, in particular, draws out toxins and can help to relieve sore muscles (like the ones you get from climbing up a mountain!).We'd love to know if you try either of these DIY Exfoliant Recipes and what the results are! If you have a recipe or a zero waste idea to share pleaseget in touch!


 Need a return label?