The holidays can be overwhelming for lots of reasons: shopping, entertaining, traveling. But it the amount of waste created can also be stressful. We’ve come up with some suggestions about thoughtful gifts, but now we have 3 gift wrapping ideas to help with creating less waste.
Reuse & Recycle
Gift bags are my favorite for reuse. We have some that have been in the family for years and just keep going around and around. But it’s not just gift bags. Wrapping paper from other people’s gifts, jars, tins and boxes can also get another life this time of year. I’m planning on using some of my sons’s art projects as wrapping paper, but if you don’t have piles of that at home, brown paper that someone else used as packaging could be the perfect wrapping paper.
Great Creative in your Gift Wrapping
If plain brown paper doesn’t feel festive enough get creative. Let your kids decorate it with markers or stickers to help them get in the holiday spirit. My sister received this blue gift bag with a snowflake cut out. She assures me there are punches that make this process easy!
Use fabric as wrapping
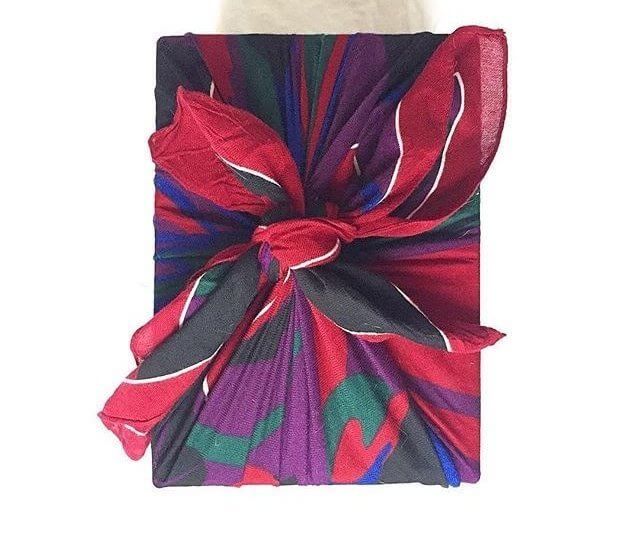
We were delighted to see this on our friend SimplyZero’s instagram page as a wonderful, waste free gift wrapping idea. Have you tried the furoshiki wrapping technique? it’s a fabric tying method from japan that can be used to wrap and carry items. if you’re looking for paper-free, bag-free wrapping ideas, definitely give this method a try. The scarf I used to wrap was bought second hand for about $3 and from start to finish took me less than a minute to tie up this birthday present. Follow the steps below:
• Place item in the center of a square piece of fabric or scarf
• Gather two opposite corners in the center to tie first knot
• Tie corners together once and tighten
• Repeat steps 2 + 3 with leftover corners [you will have two knots overlaying one another at this point]
• Finish by knotting each set of corners one more time overlapping, starting with the first set.
If you are a visual learner just google “furoshiki wrapping” and there are tons of videos out there to walk you through it!


